Tag Archives: littlepandamommy

DIY Orange Peels Cleaner – Simple, Healthy and Affordable Green Living 自製橙皮清潔劑 – 簡易家居環保 經濟又健康

A few years back, my oldest daughter came home from kindergarten and looked distressed. She just learned the hard truth from school about how much damage the mankind has done to the planet we live in. She begged us to plant some trees, in hope of improving the air quality and save the earth. She worried about there will be no clean air for breathing when she grows up. Looking at her scared little face, I decided to get rid the bad reputation as a “plant killer”, started to learn gardening skills and how to live a green life with the kids. To our surprise, green living is not as hard as we thought, it even helps us to stay healthy.

20180409_203700_resized 20180409_201951_resized

Apart from green basics like limiting plastic bags use and sorting trash for recycling, many families face the daily trouble – food waste. The most common problem is we can eat less than what our eyes can see. We cooked way more food than we can consume, then we sent them off the garbage disposal or the junk bay. To avoid food waste, I started to pay better attention to portion control and tried to buy more fresh and package-free products. With these changes, our diet has improved as an indirect result.

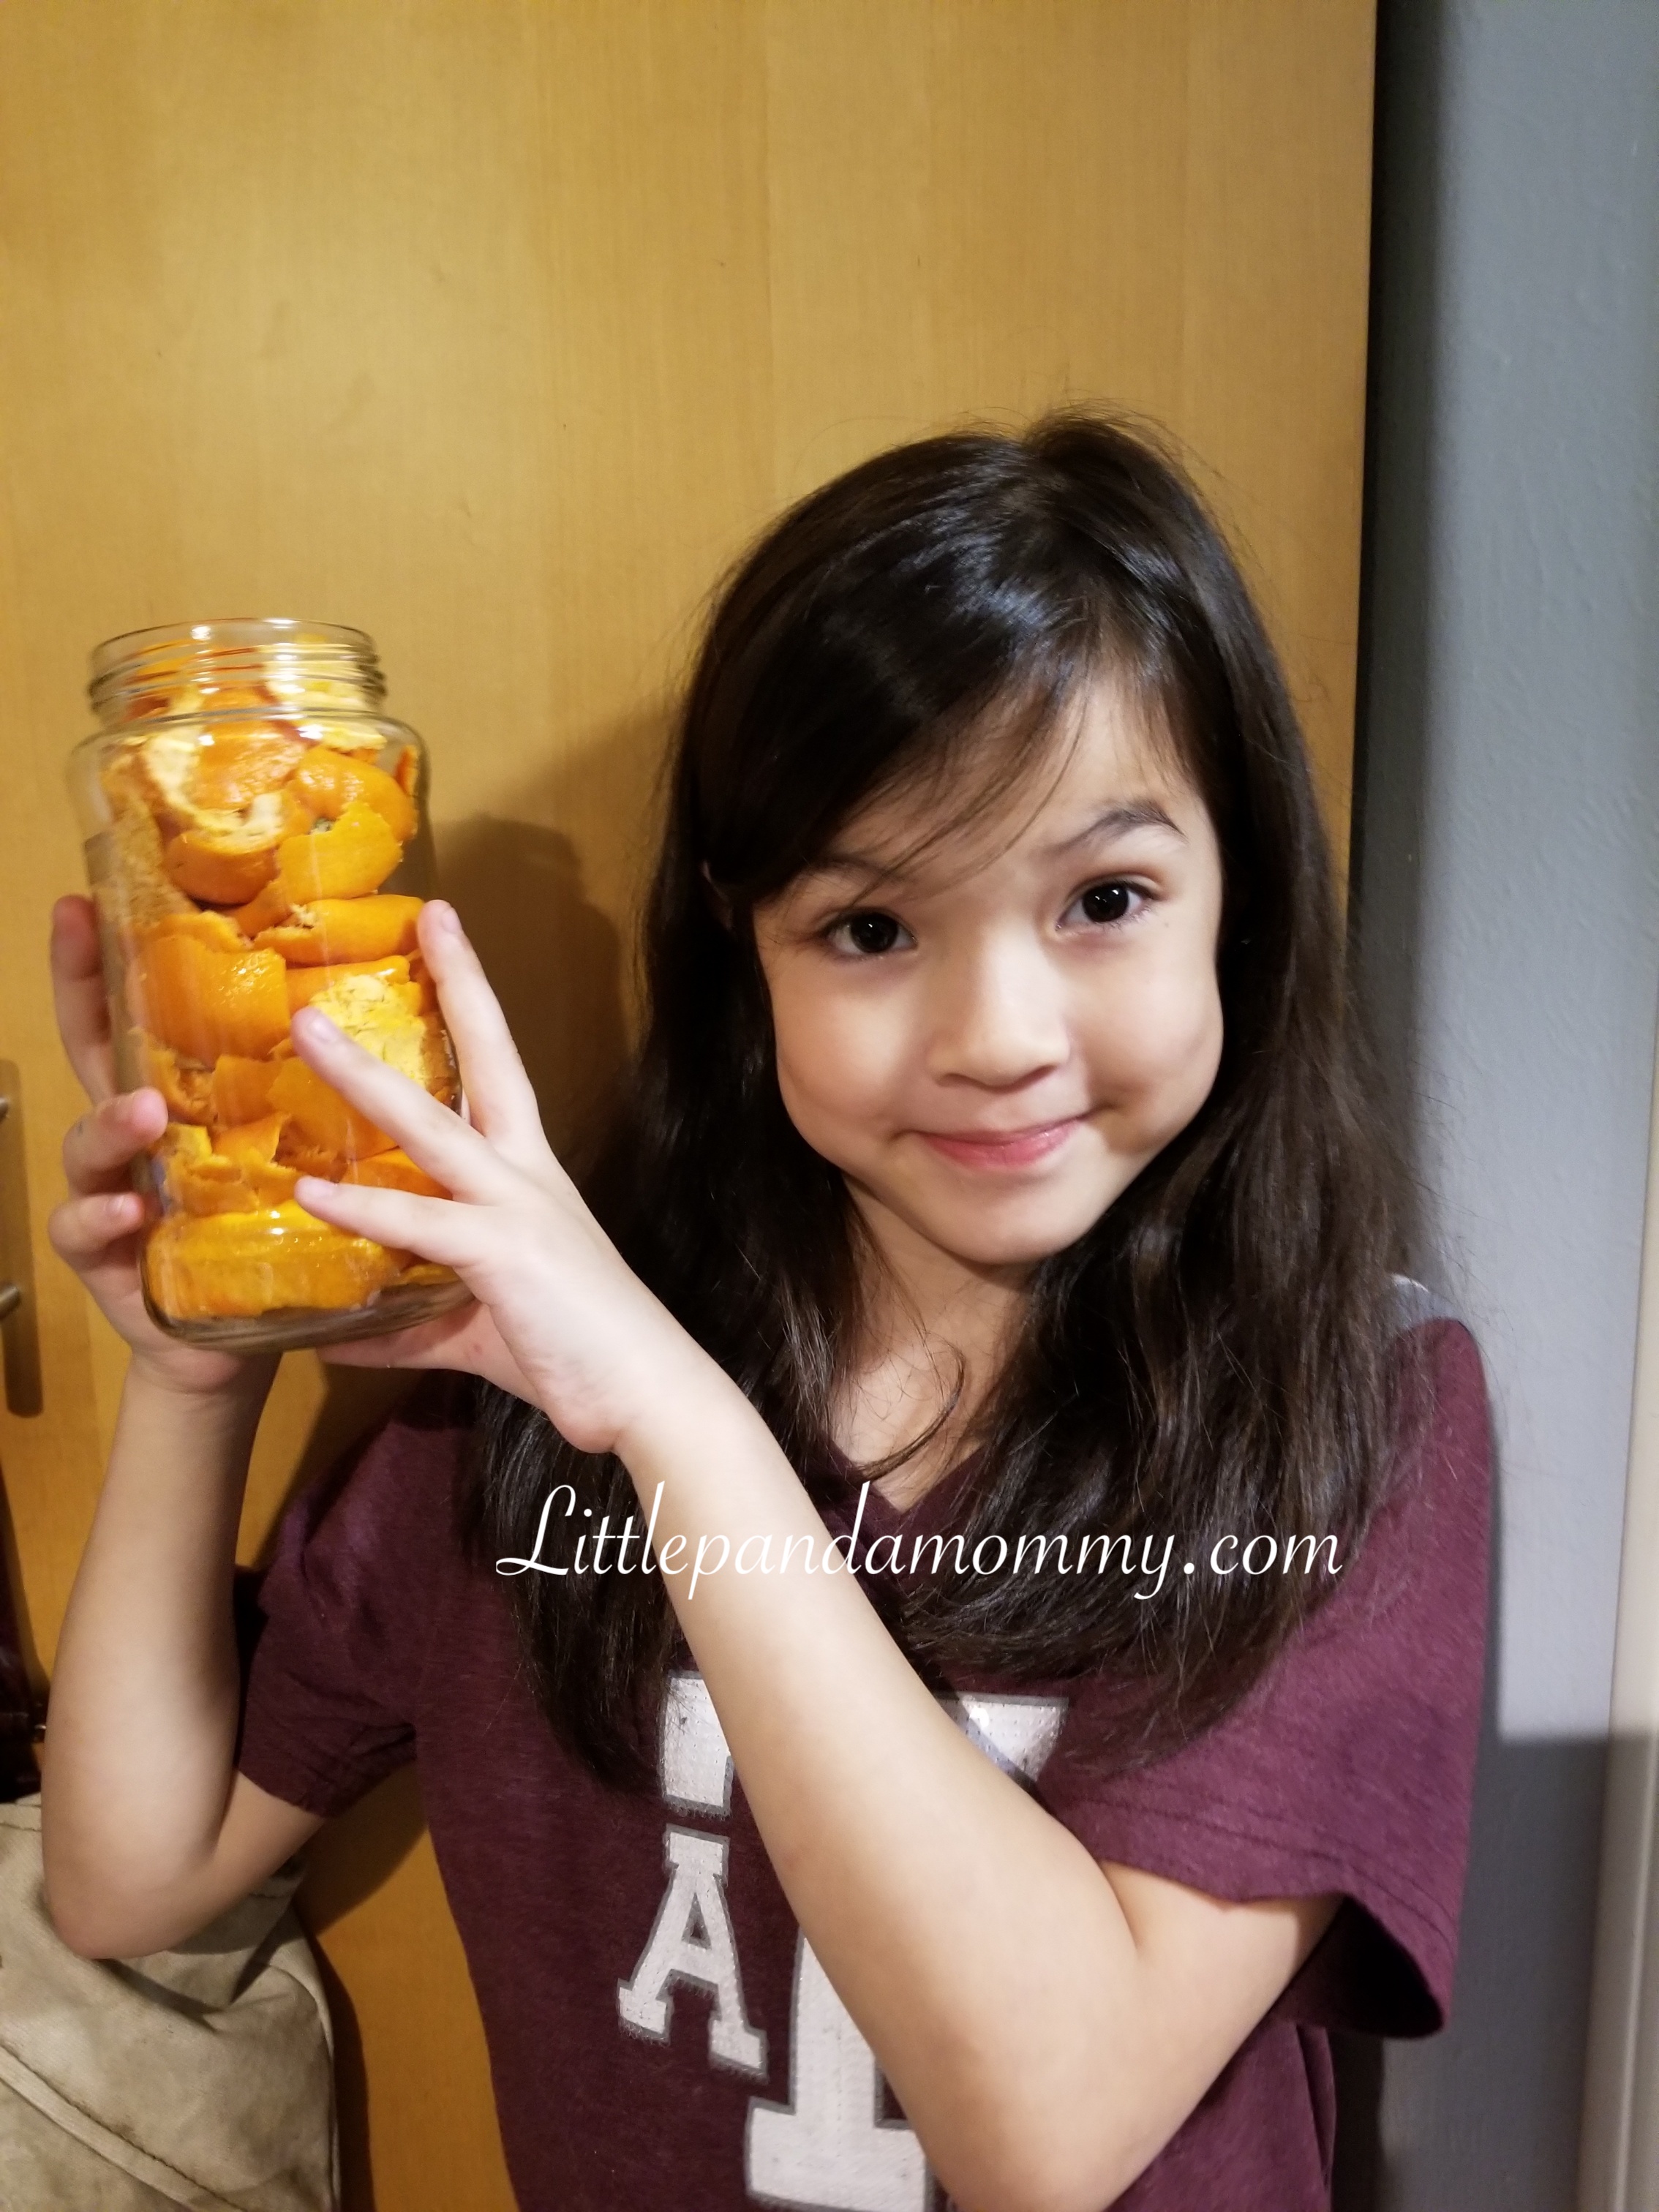
My children are sensitive to chemical cleaners, they broken out in hives quite a few times before I learned the correlation. To avoid those harsh chemicals, we learned to DIY natural cleaning products to use around the house, such as “Orange Peels Cleaner” (you can use any citrus peels). This little green cleaner saves the environment and greens in your wallet and it is super easy.

To prepare, you will need:

  1. 20180409_230215_resized
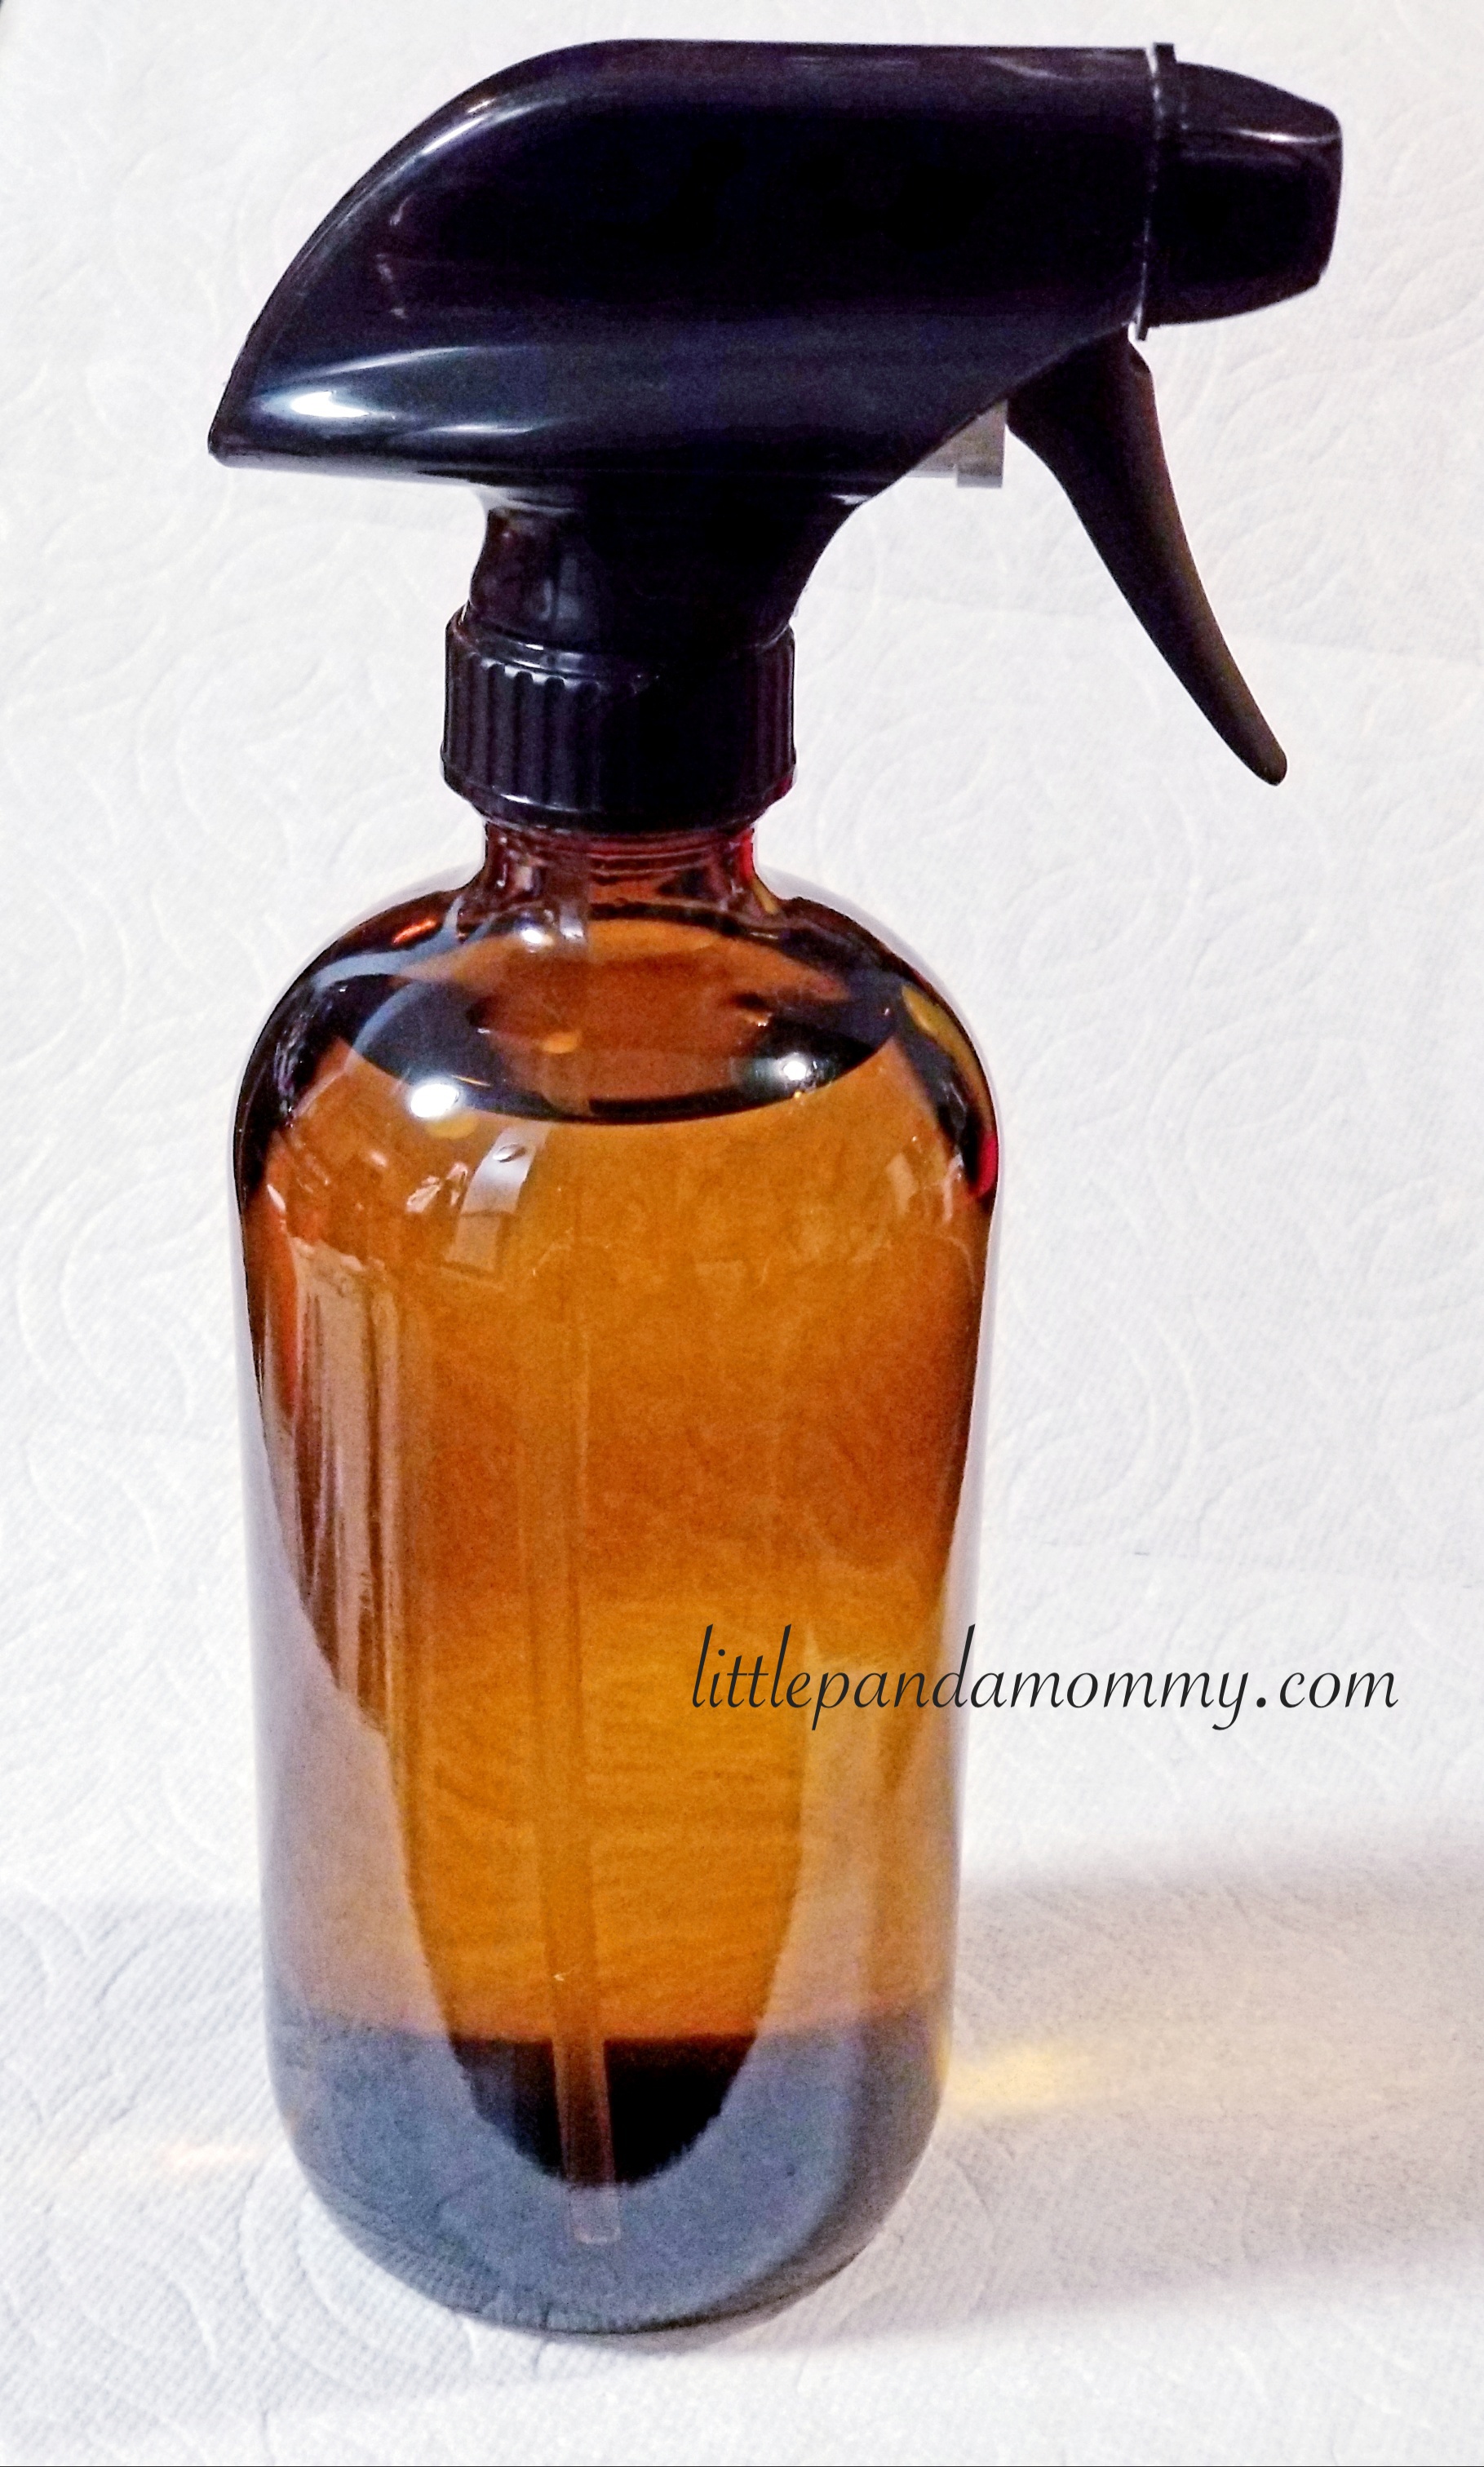
I love this amber spray bottle. Why?
    - Sturdy and well made
    - 2 spray settings: wide spray and stream
    - Made in USA 
    - Amber color blocks UV light (great for essential oil cleaners) 
    - Glass bottle won't react to acid or essential oils 
     You can get it here

How to make it:

  1. In a empty glass jar, fill it up with saved orange peels and/or citrus peels.
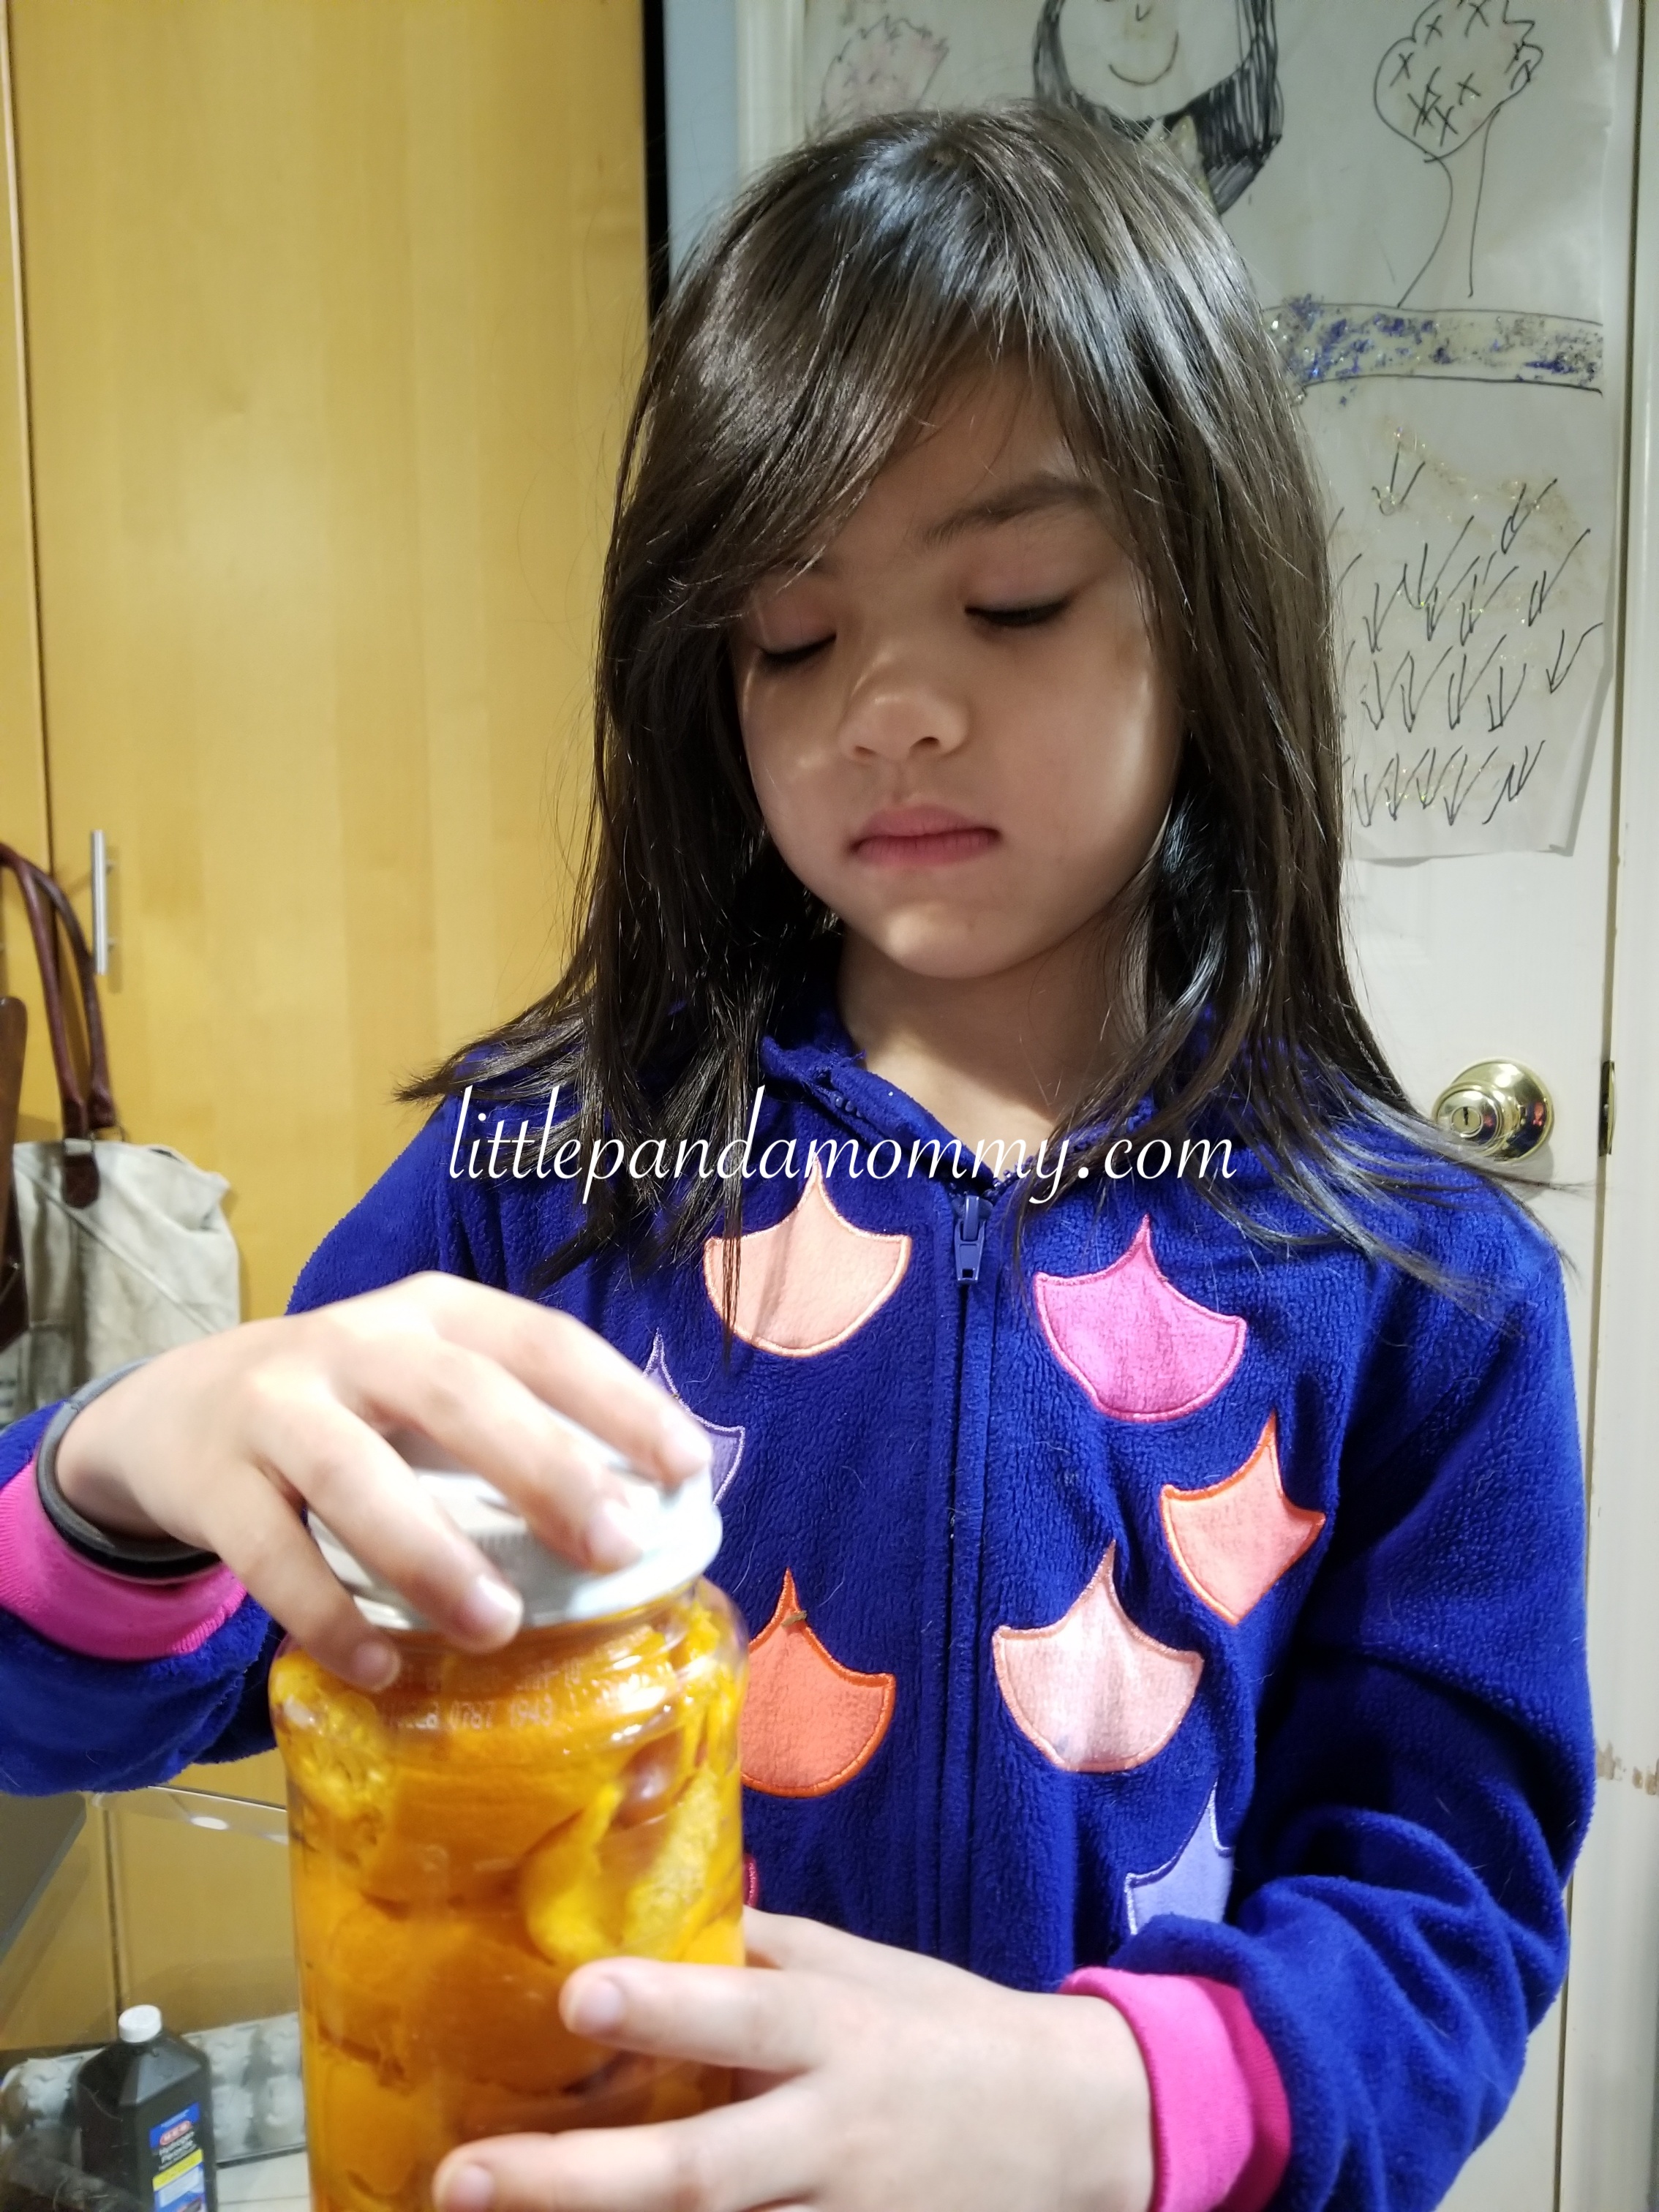
  2. Add white distilled vinegar to cover the peels.
  3. Close with lid and place it in a cool dark place for 2 weeks.
  4. Strain orange peels and pour the infused vinegar into a glass spray bottle (buy it here.)

20180409_215950_resized

How to use it:

[Attention]
* Always test on unnoticeable area first before use, acidity in vinegar could damage or dull the finish. For example, sealed wood flooring, granite counter top or delicate surfaces *
** Do not use on unsealed wood flooring or furnitures.**
    1. Use it directly on tough grease or hard to clean surface, such as stove top, kitchen sink or bathroom tiles and toilet bowl. Rinse with water.
    2. Dilute it with 50% water, use it for general cleaning. For example, wipe down door knobs, table and chairs, wash dishes, clean windows.
    3. Use it as fabric softer in washing machine (use white vinegar for light and white clothes), simply fill the fabric softer slot with vinegar and run the wash cycle as usual.

Why it work?

Vinegar is one of the safest products (also great for cooking) to use around children, pet and as a general household cleaning agent. It can kill many microorganisms, as effective as commercial cleaning products to kill E. Coli and H1N1 virus, thanks to its pH 2.0 acid content. Those hidden bacteria and mold sitting around the humid corner at your shower? Spray some vinegar instead of bleach to get rid of them. (Attention: DO NOT mix blench with vinegar, it releases “Toxic Chlorine Gas”)

However, not everyone like the smell of vinegar (I am not a fan), so we combined other powerful natural cleaning agents (orange peels, lemon peels, lime peels, grapefruit peels or pretty much any citrus peels) into the mix, making the cleaner more effective and smelling good.

Many food wastes are useful too. If you have small house plants or a garden, start saving your coffee grounds, egg shells and banana peels. Just put them in the soil, it will decompose and become nutrition for your plants. You can also make a indoor compost bin (buy it here) or outdoor compost bin (buy it here) with a metal or plastic bucket, drill some holes at the bottle and start filling it with food wastes. Combine food wastes mentioned above along with other fruits and vegetables wastes, tea (loose leaves tea or biodegradable tea bags) and some soil in the compost bin, stir every 2 weeks and let it break itself down for at least 3 months (add some worms to help along if you desired, but keep the citrus and onion away from the compost, the worms won’t work hard around them). When they composed, you have your own organic matters to make your plants thrive. Pretty awesome, isn’t it?

This blog post is a slightly detailed version of my published Chinese column in newspaper. You can read the original column post below.

Family Column, Page a24 , <am730>Newspaper(Published on Friday, April 13, 2018)
am730專欄(刊登於2018年4月13日,星期五,a24版面)

美國教育著重環保意識,孩子從小已明白保護生態環境的重要。
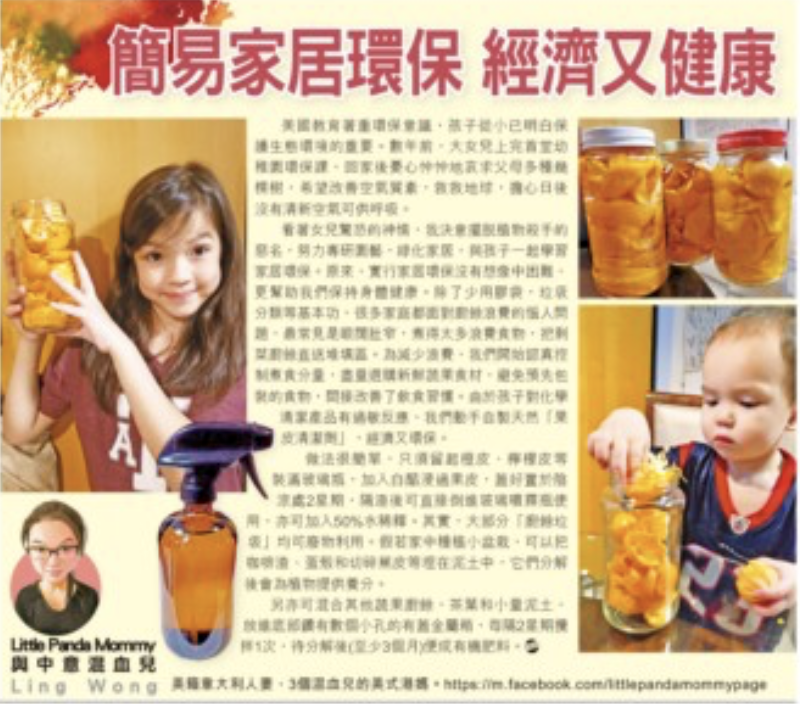
數年前,大女兒上完首堂幼稚園環保課,回家後憂心忡忡地哀求父母多種幾棵樹,希望改善空氣質素,救救地球,擔心日後沒有清新空氣可供呼吸。看著女兒驚恐的神情,我決意擺脫植物殺手的惡名,努力專研園藝,綠化家居,與孩子一起學習家居環保。原來,實行家居環保沒有想像中困難,更幫助我們保持身體健

Screen Shot 2018-04-14 at 6.41.01 PM

康。除了少用膠袋,垃圾分類等基本功,很多家庭都面對廚餘浪費的惱人問題,最常見是眼闊肚窄,煮得太多浪費食物,把剩菜廚餘直送堆填區。為減少浪費,我們開始認真控制煮食份量,盡量選購新鮮蔬果食材,避免預先包裝的食物,間接改善了飲食習慣。由於孩子對化學清潔產品有過敏反應,我們動手自製天然「果皮清潔劑」,經濟又環保。做法很簡單,只需留起橙皮、檸檬皮等裝滿玻璃瓶,加入白醋浸過果皮,蓋好置於陰涼處2星期,隔渣後可直接倒進玻璃噴霧瓶使用,亦可加入50%水份稀釋。其實,大部分「廚餘垃圾」均可廢物利用。假若家中種植小盆栽,可以把咖啡渣、蛋殼和切碎蕉皮等埋在泥土中,它們分解後會為植物提供養份。另亦可將它們混合其他蔬果廚餘,茶葉和小量泥土,放進底部鑽有數個小孔的有蓋金屬箱,每隔2星期攪拌1次,待分解後(至少3個月)作有機肥料使用。

©2018 Littlepandamommy.com

All rights reserved.

*Disclaimer: This article contains Amazon Affiliate Links.

Story Book Parade Costumes (Pete The Cat, Poppy Hat (from Trolls)

Happy to start blogging again and I hope this will be a more regular thing for me. I really enjoy writing and sharing all my creations with you. For my long time readers, thanks for being so supportive through out the years, even when I was out for like a whole year with barely any updates. This is a very happy new year update for me, I have been trying a lot of new things and crafts, designing some new and fun things, even attempted to make characters costume. I made my girls Pete the Cat hat and tail (“Pete the Cat” is a super fun series children books, the girls and us love it) and Poppy (from the movie Trolls) hat and dress for their school story book parade. I never do characters or cute crafts (just not great at them, so didn’t even bother to try). Surprisingly, they all came out pretty well and I actually enjoyed creating them. Lily (my younger daughter) even won 1st place for the costume contest for first grade. (Hurray!) She is super excited.

Alexis modeling her Pete the Cat hat, having a lot of fun reading the book while pretending to be Pete.

FullSizeRender 11

She is taking the modeling job really seriously, hid the mouth and pretended Pete.FullSizeRender 8

Continue reading

Crochet Big & Fun Basket

It’s 2nd week of Yarntober (see last paragraph to see what is Yarntober), presenting Simply Crochet – Big and Fun Basket on Skillshare. You can take this class and thousands of other classes on Skillshare for only $0.99 for 3 months. Here the class link: skl.sh/2e4iuN0 . [announcing mode is done]

I saw these huge yarn balls called Bernat Blanket Big in Michael’s Store doing my regular shopping. Bought quite a few (a basket full and a little extra) of them, brought them home and made a couple baskets (still need to go back for more). The basket is big, fun and unique,  it’s also very easy and quick to make. Perfect for a beginner and for anyone at home, great for decorating while have very good storage build in (t’s a basket after all), your pets may ask for one or two too. After the first basket, I decided to make it into a Skillshare class and teach you how to make one.

img_8905

[Whispering voice: I do not have regular shopping trips but more like yarns hoarding collection trip, my husband will totally verify me on this one since I made him went with me (I was saving money by double saving with his coupon). I told him Fall is here and Winter is coming (any Game of Thrones fans?), holiday seasons are one after the others, I just need to get some more yarns. (I see you nodding right there.) ]
As a result of yarns collection, I borrowed a few of his new plastic bins for storage. He was giving me a hard time/ motivation to get more patterns and Skillshare classes out (how much I love him for this and hate to admit he is a teasing genius at times), he suggested to make October into “Yarntober” – everything about yarn. I take on the challenge happily and play with all my yarns every minutes I could squeeze in my busy mom schedule. The result is, I succeed on delivering one class or one pattern per week in Yarntober. The best part is, I got this crochet basket class out on “I Love Yarn Day”, YESSS! Hurray for me. I got this taped a few days ago and did all the editing and voice over, then something went wrong and I had to redo most of them.
Little Panda Mommy Creations
Copyright 2016. All rights reserved.

Crochet Tartan Scarf with Planned Color Pooling 

This article contains affiliated links, we may receive a small commission if you purchase products through them (it costs the same while the commission will support us to run the website and develop future contents. Thank you for your support and happy browsing.

I always love tartan scarf but too lazy to do all the color changing while knitting or corcheting. However, when the planned color pooling tartan scarf became a phenomenon in the crochet world lately, I decided to give it a try.

Well, I didn’t just I give it a try, it was more like 10 tries to get it started right, then another 10 tries of crocheting and ripping half the scarf apart and restarting.

Even though it was frustrating how it worked for 10 rows and showed the tartan pattern then suddenly went bananas on me, I am glad to finally crossed the tartan scarf and color pooling off from my to-do list.

After all the intense practices for single crochet and chain stitch, this scarf was made with crochet moss stitch, also known as granite stitch.

How to make moss stitch?

  • Sc – single crochet
  • Sk – skip
  • Ch – chain
  • St(s) – stitch(es)
  • Ch sp – chain space

Cast on multiple of 2 (mine was 24).
Row 1: Sc into the 4th st, * sk 1 ch, ch 1, sc into the next ch. Repeat * to end. Turn.

Row 2 to end: Ch 2, sk 1 st, sc into next ch 1 sp, *ch 1, sk 1 st, sc into next ch 1 sp. Repeat * to end. Turn.

I found a few tips to share with you if you wanna give it a try or more than a few tries.

For materials, you need some variegated yarn and the suggested size hook (probably a few smaller size hooks also). I used Red Heart Super Saver yarn in Camouflage colorway with a 4mm hook.

To get started , casted on 24-36 stitches. I tried 24, 28, 36 and after switching hooks from a size 5mm hook to 4.5mm to 4.25mm, I finally got it worked with a 4mm and chain 24 cast on combination.

If the color pooling is working, you should notice the tartan pattern start to show about 2- 3 inches length, be careful because it could work it way out of alignment if your tension changed just the slightest bit, then the once beautiful tartan pattern would be gone and you will be wondering what is wrong. I almost fell for the white lies my husband kept telling me: “it was the yarn, not you. It just wasn’t the right kind of yarn.” However, I am stubborn and couldn’t hide from the fact that there were two perfect tartan patterns on the scarf.

Lesson learned, if you are going to pick up and put down the project a lot like I do, as a busy mom with a baby and two school aged girls, 2 dogs that are getting old and need to go outside every 2 minutes, you will need to re-adjust every now and then as you go. Or try your best to find some uninterrupted time to sit and crochet, therefore you will have a better chance to keep the tension precise and consistent.


Tension plays a key role in color pooling. This scarf you see now made with the same hook same yarn but had been unraveled multiple times. It wasn’t fun and super confusing as I looked at the scarf when it went wrong, it had the perfect tartan pattern for 5 inches long and all a sudden it looked nothing like tartan, not even remotely have the possibility to be tartan in anyway.

Somehow my stubbornness won and I unraveled the same messed up part for 3 more times and magically it became tartan again. I was so mad at the crazy rows (at least 15, if not 20 rows) I didn’t have the heart to took a picture last night (I really should have). I just unraveled it and left it there for another tryout this morning. Thanks God, it worked.

If time available, I will make a Skillshare class about how to spot a mistake while color pooling and how to fix it before you need to rip apart half the scarf. Subscribe by email to my blog or follow me on facebook and Intragram to receive update.


All rights reserved. ©2016-2018 Littlepandamommy.com

Quick & Easy Crochet Scarf

My second Skillshare class is published: Simply Crochet – Quick and Easy Scarf. This scarf is gender netural and looks great on everyone. I will teach you the basic of crochet including slip knot, chain stitch, slip stitch and how to weave in the ends. Enroll now.

If you just want a copy of this simple and easy pattern, grab it at my Ravelry store.

My two little girls are both making their own in different colors with their choices of yarns. My oldest loves this scarf when she modeled it for me, so we went to the store and let her pick out her own yarn to make one herself . Little sister saw it, sure wanted to join the crochet club and picked her own yarn too.

Happy crocheting!

Little Panda Mommy Creations.

Copyright 2016. All right reserved.